Followers

About Me

My photo
I wargame in 20mm, primarily using Command Decision 3, but have been tempted into other systems. I have a tendency to adapt CD to suit other periods with varied results! I take awful pictures and am at best an average modeller and painter, but hopefully quantity will have a quality all of its own.

Tuesday, 19 April 2016

Brienne 1814 - A (P)Russian Defeat!

Recently I played another game of Volley and Bayonet, in which I used my Prussians to represent Russian troops. The scenario was one of the ones that can be found here at Keith McNelly's rather excellent site.


The view from behind Prussian line of the initial set up.
We had elected to play the Brienne Scenario (found here), using the shorter table options. It was at this point I made two decisions that would have a dramatic impact on the game; The first being not to worry about having the required skirmisher stands, while the second was to not worry about having the required number of model villages, and to use paper templates instead. This in in a game that required me to hold a village temple (which can only be done with skirmish stands), and a supply line that passed through a village two templates big.

Supply line represented by quickly made wagons, limbers, and other sundry items on 3" long stands.
Rather than making the skirmish stands, or the villages, I concentrated on bodging the wagon train together - which from memory was some 10-12 stands worth - thinking I could make some skirmish stands later, after all they wouldn't be that important?

Note the undefended red roofed BUA at bottom? Holding that was one of my victory conditions....
My real undoing was my poor initial deployment, in which I contrived to leave a battalion of heavy guns on an exposed flank. Why? Because I'm an idiot?.....

Stout Prussian defenders of Brienne le Chateau, force a French brigade back.

But more are coming like an endless blue tide....
 Still despite my mistakes, the Prussians were able to hold on to the town , and give a good account of themselves.
Starting to feel a little outnumbered...
 By eventually the French pushed out the Prussians and seized the town. Any dreams of a counter attack at this stage had been replaced by a desperate need to fall back and hold the supply line.

Finally the French occupy the town....
The French started to push their troops through the light woods, hoping to break my line of communications, and seize victory by looting my baggage train.

A French division on woods edge.

The French advance.
 At this stage I still felt that I could prevent this. I had burnt through my cavalry on my right flank, and had hurt the French cavalry in the process. I still had two un-exhausted infantry divisions, and I was hurting the French. I might just manage to prevent defeat and get a draw.

And meet solid resistance from good Prussian steel!
And for a while, that was possible.....until the mounting casualties resulted in first one, then both divisions becoming exhausted - which meant a clear French victory!

We kept track of casualties. It was a close run thing....
Overall it was a very fun game, which we played over a couple of days at a very relaxed pace. The French fought well, and I think the result would of still been a French victory even if I had the skirmishers holding the villages. It certainly ranks up there as being one of the more fun games I've played.

But a well earned victory for the French!


As a result of seeing some of the notations in the scenario, I decided on getting the second edition of Volley and Bayonet, and the 100 Days expansion "Napoleon Returns". They both arrived last week, and I am starting to gear up all three armies required to play - although based on the games I have been playing lately perhaps painting some 1814 Russians might be in order first?


Still, it is an achievable goal, and working towards it will mean that I will at least finally make some villages!

Wednesday, 13 April 2016

Clash in Southern Khand 2012

This is another AAR of a moderns game that has been played recently. This time, rather than use CD 3, I decided to use CD 2 as I felt it that it might offer a better game. Vehicle and equipment statistics were taken from Combined Arms, so some of the stats were very different from some of the stats from more recent products.

The large empty table. Southern Khand will never have a major tourism industry.
The aim of the game was to revisit CD 2 to see if it handled modern games better than CD 3. With this in mind, a scenario was generated that would allow for the testing of different aspects of the rules. 

Khandish Peoples' Liberation Army 
Task Force Kalid
Troop Quality: Experienced
Morale: 12

Headquarters Company with:
         1x Command stand
         1x BTR-80
   2 Motor Rifle Companies, each with:
        1x Command Mot. Rifle stand
        2x Mot. Rifle stands
   Anti Tank company, with:
        2x AT-4 teams
        1x BTR-80
   Anti Aircraft Gun company, with:
        1x Command stand
        1x Gun crew stand
        1x ZU-23-2
       1x  GAZ-66 light truck
  Tank Company, with:
       1x Command T-72
       2x T-72s 


The KPLA has long been a major faction in various conflicts in Khand. The most recent fighting has seen the KPLA grow in both strength and in confidence. The very high morale factor is reflective of the fact that this particular unit has been very successful and is very dedicated to their cause.

Journalists exit the scene after obtaining some battle footage.
 Independent Media Group

A collection of soft vehicles festooned by cameras and journalists. While broadly sympathetic to the Western Alliance, they are motivated by the hunt for fresh news from the front. This is represented by having them move to within 6 inches of any firing and staying there for one turn, in order to capture said news from the front. Once they have captured two such incidents, they will head towards the nearest friendly controlled road exit to leave. They block line of fire for Western Alliance forces, but not for KPLA units.

Western Alliance Armour.

Western Alliance Forces

Combat Team Smith
Troop Quality: Veteran
Morale: 9

Headquarters Company with:
         1x Command stand
         1x M2 Bradley
   Motorised Infantry Company, with:
        1x Command stand
        4x Mot. Infantry stands
    Cavalry Squadron, with:
       1x Command stand
       3x M3 Bradleys
       1x M1A1
    Engineer Troop with:
       1xM1A1 with Mine plough and towed MICLIC
           
Early in 2012 a token expeditionary force was dispatched to Khand in order to safe guard the interests of the various governments that make up the Western Alliance, and to also attempt to prevent some of the worse excesses of the ongoing conflict in Khand.

KPLA AA Company deploys near an are of light scrub land.
One of the things I remembered very quickly about CD 2 (compared to CD 3) was the sheer amount of firing that can take place during a turn. In CD 3 an element can only fire once per turn, whereas in CD 2, and element can potentially fire up to three times. This gives defending forces a great deal of opportunity to shoot the hell out of an advancing force.

A bad day for Western Alliance armour.
As the Western Alliance forces were doing the advancing.... They attracted a great deal of fire, and the KPLA rolled some great dice.

The engineers are halted, while the Motorised infantry keep moving.
The scenario did given a great deal of advantage to the KPLA with their initial deployment. I had hoped that the better stats of the M1A1s would compensate for that, but looking back on it, probably not as much as I'd planned.

It was a very bad day for Western Alliance armour, but not an entirely good one for the KLPA either.

KLPA AT-4 teams lurk on the edge of the scrub.
However, the main point was to see if CD 2 would be a better basis for Moderns games than CD 3. After playing this game, and ruminating on it for some time, I keep coming back to thinking that an amalgam of the best bits of both would work best.

And an air attack takes out a troop of T-80s.
The major weak point of CD 2 for Moderns is the lack of decent stats for quite a few modern weapon systems. The biggest gap is with aircraft. I have started to stat out some aircraft using data from various CPQs, Combined Arms, Harpoon, and some other GDW games, which I am then comparing to the 'real world' information available on aircraft. This is something I will need to do regardless of what version of CD I use.

The scrub offers some cover to KPLA armour.
CD 3 has much simpler mechanisms for determining quite a number of things (spotting, range bands, etc) but in my opinion handles aircraft badly, and I've never fully liked the reduction of firing phases for a number of reasons. However, the simpler mechanisms do make the game quicker.

Close up of the "I can't believe it's not a GAZ 66" Soviet era toy diecast truck I've been using as the tow vehicle for the ZU-23-2. 
Clearly I still have a great deal of thinking to do as I continue to paint things and be slack about making blog postings!

KPLA recon reports in on the Western Alliance movements.

Monday, 21 March 2016

Heavy Metal in Kalasia

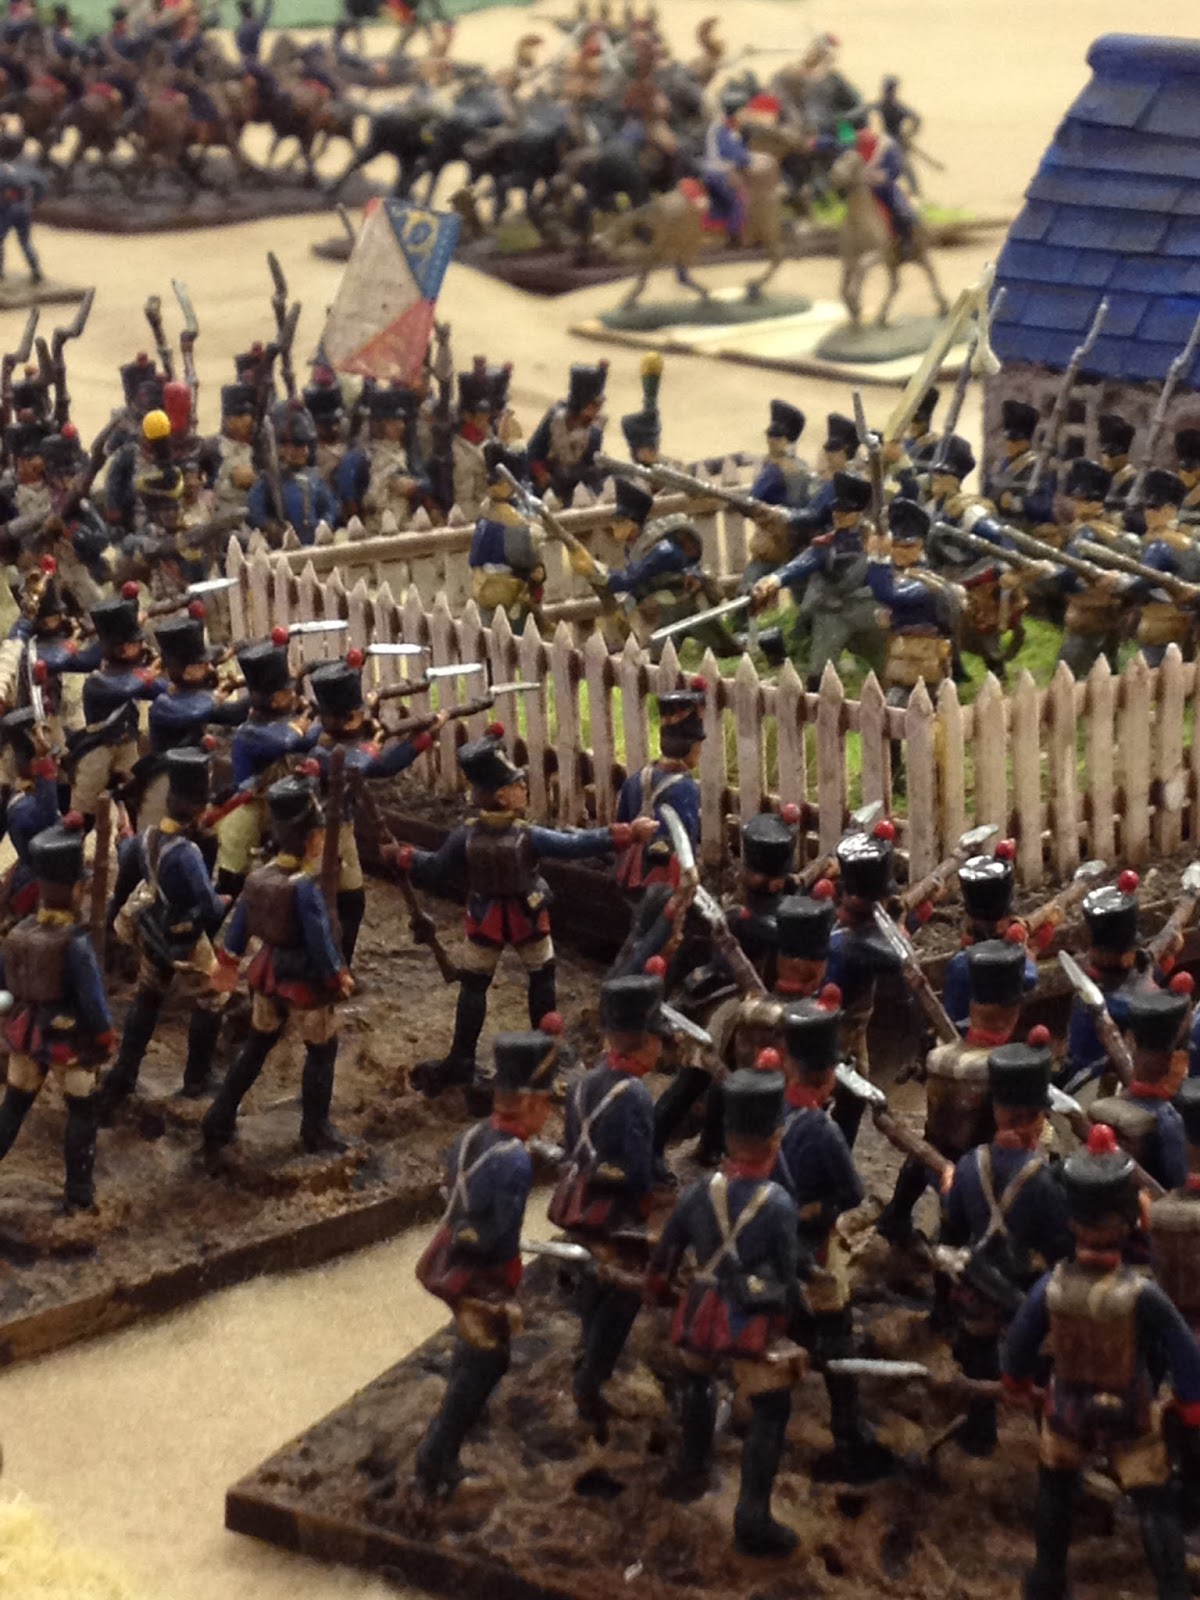
Earlier this year I had a small moderns game, using CD3, as an experiment to see if I could run a game of CD on a very small playing surface, and still have it be enjoyable.

Kalasia 2003:
Hard line elements of the old regime, supported by the remnants of the Presidential Guard, have retreated into the jungles of  the interior. They are closely pursed by the Western Alliance backed Kalasian Peoples' Army (KPA), who hope to end the civil war by destroying the old regimes remaining military power, and to bring surviving elements of  the regimes' politburo to justice.

The role of  Task Force Copper is to neutralise an enemy SAM site, secure the township of Beinaz, and continue the advance towards the interior. Enemy forces are believed to consist of no more than a badly mauled company of motorized infantry, supported by local militia. The SAM site is not believed to be currently operational.

Currently air superiority in this sector is  fiercely contested, so there is a strong possibility of  the appearance of enemy aircraft

The civilian occupants of Beinaz township have already abandoned the town, no doubt encouraged to do so by regime forces.

The game set a small KPA task force (Task Force Copper), with an attached troop of Western Alliance combat engineers, against elements of the Kalasian Presidential Guard, supported by loyalist elements of the Kalasian military.

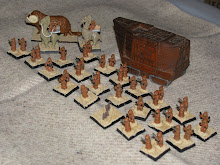
The town, the SAM site, and the turn zero smoke screen....
TASK FORCE COPPER 

Troop Quality: KPA elements Experienced, Western Alliance elements Veteran
Morale: 10

 Headquarters Company with:
        1x Command stand
        1x FO/FAC stand
        1x BTR-80
Motorised Rifle Company with:
        1x Command Rifle Stand
        2x Rifle Stands
        3x BTR-80s
Tank Troop with:
        1x T-72
SPAAG Troop with:
        1x 2K22 Tunguska
Engineer Troop with:
        1x Engineer Stand
        1x M113

KPA and Western Alliance forces start the advance towards the township.
The KPA forces had a simple plan, use smoke to screen their advance, while moving towards the main objective, securing the township and then continuing the advance down the road. It was a beautiful plan.

Loyalist forces prepare for the attack.
Using smoke at the beginning of a game was something I hadn't seen for some time. Hopefully it would pay dividends for the KPA forces. The loyalist forces decided to take a wait and see attitude to events.

KPA forces advance towards the SAM site.
However, the smoke screen had to end eventually.  This would leave the Presidential Guard and loyalist forces with clear fields of fire from their positions.

KPA forces cautiously advance through the township, and through the light jungle scrub.

The SAM site is captured!
The township and the SAM site fell after light resistance from loyalist forces.

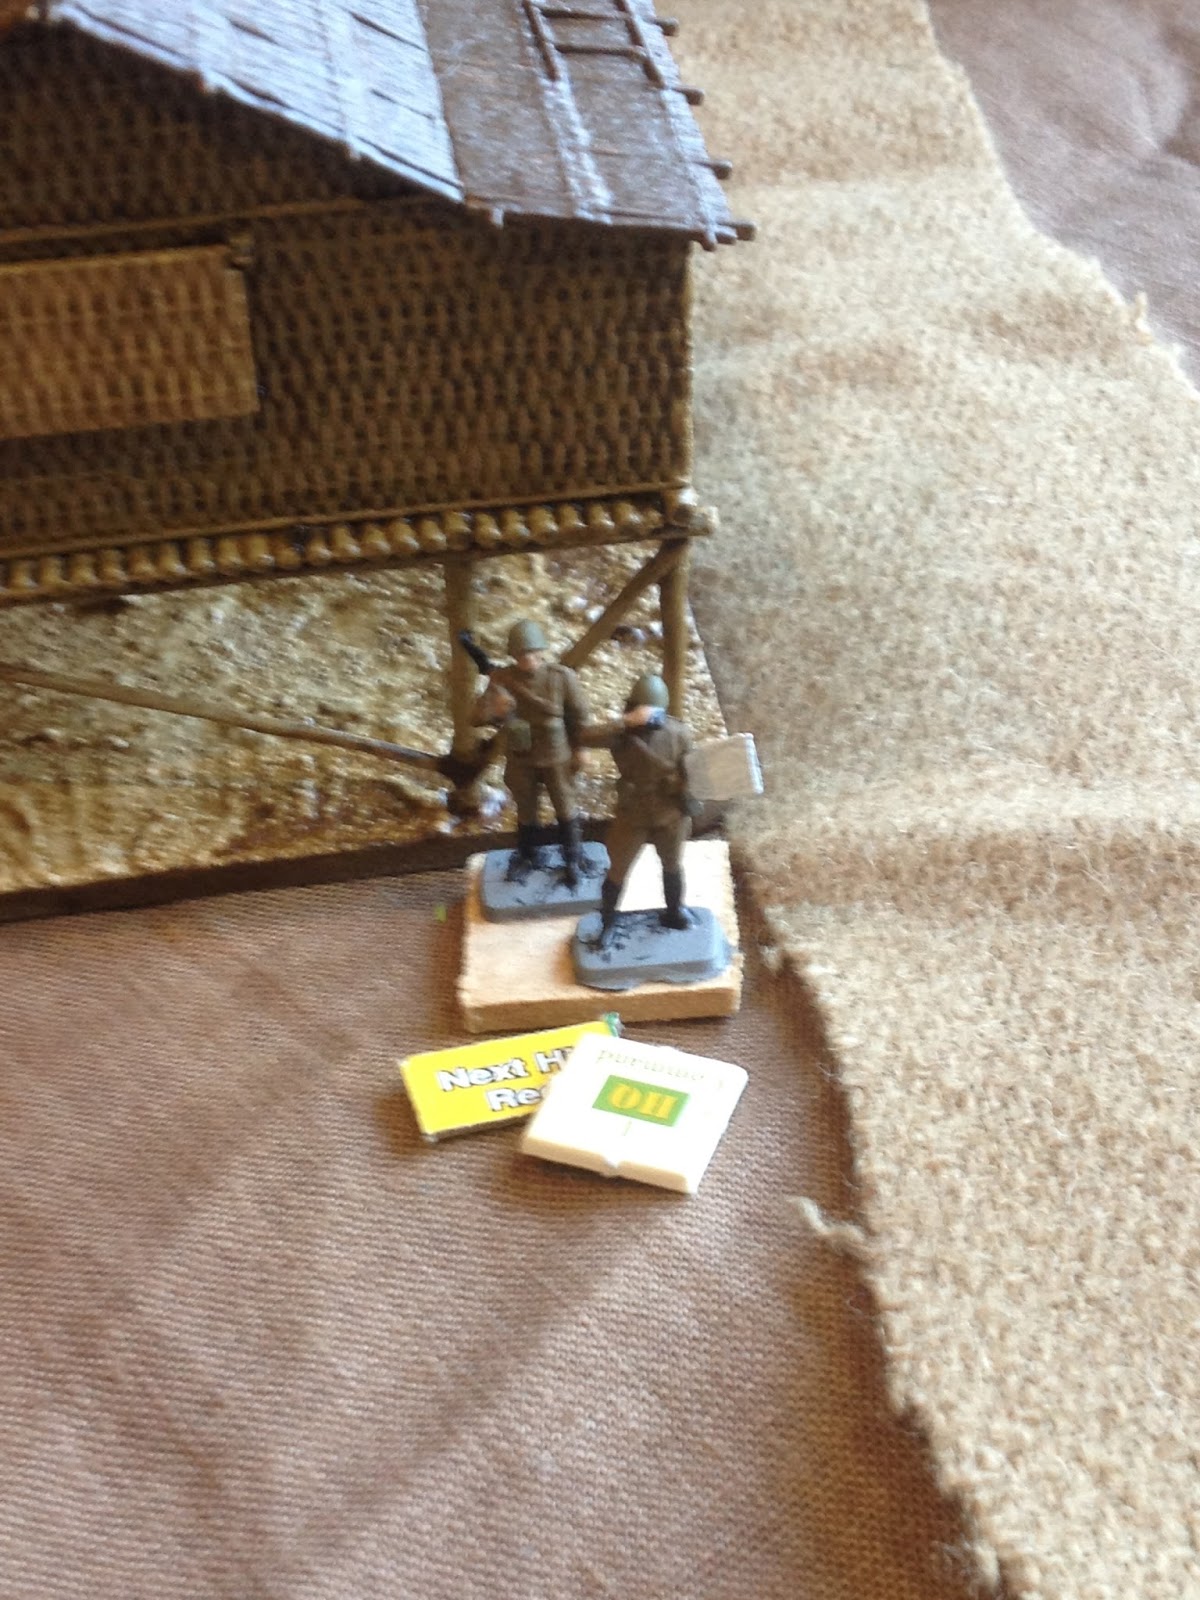
Close up of the KPA infantry and Western Alliance Engineers.
The SAM was made from a modified Atlantic kit.

The defending troops fell back further into the township.
At this tsge the loyalist forces were taking a wait and see attitude, as I was wanting to see where the KPA was going to fully commit itself, as I had only limited forces at my disposal.

LOYALIST FORCES 

Troop Quality: Experienced
Morale: 10

 Headquarters Company with:
        1x Command stand
Motorised Rifle Company with:
        1x Command Rifle Stand
        2x Rifle Stands
SAM Battery with:
        1x Broadsword SAM
        1x SAM crew stand
Tank Troop with:
        1x T-72

Air Support consisting of 1x MiG 21

These fairly limited forces meant that my plan was going to be wait and see what the KPA were doing, and shape my main (really only!) effort to counterv it. My plan would be to engage the KPA armour with integral AT missiles and the tank troop a, and then mop up with an armoured thrust into the township - supported by the MiG 21. 

Loyalist forces patiently wait for their opportunity to engage with AT missiles and small arms fire.
The KPA also viewed destruction of enemy armour as being a priority. Fortunately for the loyalists, they fired first.

KPA T-72 got Greedoed!


The destruction of the KPA T-72 troop resulted in the KPA trying to avoid that flank like the plague. The Motor Rifle company started to swarm into the township in order to take up defensive positions.

KPA BTR-80s on the move.
The KPA SPAAG troop quickly dealt to the loyalist MiG 21 when it made an appearance.


Scarily efficient against aircraft.


Boom goes the MiG!

While the skies were being swept clean, the loyalists launched an armoured attack into the township, which made short word of any BTR-80s encountered.


The predictable result of a T-72 getting a flank shot on a BTR-80.
KPA troops attempted to attack the T-72 from the township, but it didn't go well.


Brave, but unsuccessful.

The loyalists would draw back their tank troop and use it to destroy the KPA SPAAG troop, and to destroy other targets of opportunity. As the morale of the KPA broke surviving elements fled the scene, leaving the field to the loyalists.

Not as useful against armour.
The dice were very fortunate for the loyalists in this game, and the game could of gone either way. It was an enjoyable fight that made use of a very small playing space that allowed the movement rates of equipment in CD3 to present challenges to both sides in terms of "Oh crap, they can be there this turn!"

Playing on a smaller surface again, I would like to do something more urban that would allow for a more Stalingrad feeling game.

Wednesday, 9 March 2016

More Prussians and French for Volley and Bayonet

 After the last game of Volley and Bayonet I discovered that I needed to base up more French and Prussians. Fortunately I could fast track the Process by making use of some oddments from Steve, and a number of old school Airfix paint conversions from Glenn.

Prussians. Three Infantry Brigades, and three Artillery Battalions.
Two of the Prussian Infantry Brigades have been made up from Airfix French Infantry (click here for PSR review) that were painted to look like Prussians. The other one was made up of figures from the rather nice Revell Prussian Infantry set (click here for the PSR review).

Airfix Prussian Infantry.
Admittedly the paint conversion does get some things wrong, particularly with regard to backpacks, belts,and other such items - but I think it does capture the general impression of Prussian troops of the period. Refurbishment was the usual quick touch up, followed by basing and a brown wash.


Prussian Artillery. Airfix guns and Hat crew.
The Prussian artillery were made up of guns from the Airfix French Waterloo Artillery set (click here for the PSR review), and gun crew from the Hat Prussian Artillery set (click here for the PSR review). When Steve based up his Prussian artillery, he had some spare gun crew, so I added the French guns to them in order to quickly add to my Prussian artillery park.

The French, Teeth and Tail elements.
 First up are some nicely painted Airfix Waterloo French Imperial Guard that I got from Glenn. (click here for the PSR review). Since they are shorter than many modern figures, I put them on a taller base.

Airfix French Imperial Guard.
 Next up is a vehicle I built years ago using matchsticks, wheels, horses, and a figure from the Airfix French Artillery set. The barrel comes from an unknown plastic kit. The design is pure fantasy, but I think it looks good!

French wine wagon with nearby Imperial Guard nursing their hangovers.
The final two additions are a battalion of French horse artillery from Italeri (click here for the PSR review), and a French command stand. The figure seems to be painted to represent Napoleon himself (the grey coat, added to the fact the figure was in the same batch as the Imperial Guard above, are fairly big clues to the intended identity).

Napoleon and Artillery. A natural combination.
The mounted figure is of course from the classic Airfix Washington's Army set (click here for the PSR review), and the figure is generally viewed as representing George Washington. Clearly, the original painter decided to go a different route! As Napoleon, the paint conversion is quite serviceable,but in my view  the pose is a little too martial. I plan to replace it with the figure from the Italeri French Imperial General Staff (click here for the PSR review), which I think is a better fit for a command stand in V&B.

Sunday, 6 March 2016

Additions to Volley and Bayonet Terrain

Since my last post I've made a few additions to my V&B collection. Some of this has been fast tracked by the refurbishment of some odds and ends from Steve, the refurbishment of painted Airfix figures from Glenn, and the adaption of some buildings Ken gave me into V&B Built Up Areas (BUAs). This post will deal with the terrain, while the next will deal with the figures.

The Mill (a single BUA) and the Estate (a double BUA).
 The kits used were a HO scale Water Mill kit (Manufacturer unknown), parts from the Airfix Waterloo farm house, and houses from the Nitto house and lookout kit.

Like the rest of the V&B BUAs I've made part of them removable in order to house stands of troops.
I've acquired another second hand Waterloo farm house kit from Glenn, that I am hoping to convert into generic housing BUAs. At some stage I will need to think about how I can make villages in V&B as they have a template size of 3" by 2" (or roughly 76mm by 47mm), and need to  have space for a 1.5"  (or 38mm) square base of troops to occupy it.

The Mill has a removable waterwheel.
 The trick will be to make something that is functional, but also looks ok. Especially that this might be the correct template to represent key locations of terrain on many Napoleonic battlefields.

Like so.
 The Mill can be placed next to a river or stream and have its wheel deployed, or be used as a generic BUA without it.By having the wheel as a separate piece, I can increase the utility of the BUA, and make it easier to store.

Which can be safely stored away.
 I still have to finish off all the BUAs used in the last game, so hopefully once I've completed those I can start working on the smaller village BUAs.