Followers

About Me

My photo
I wargame in 20mm, primarily using Command Decision 3, but have been tempted into other systems. I have a tendency to adapt CD to suit other periods with varied results! I take awful pictures and am at best an average modeller and painter, but hopefully quantity will have a quality all of its own.

Wednesday, 15 February 2012

Summer Anti Nod Offensive 1987 Pt. 1

I decided that I needed to play a nice heavy metal scenario with some of the armour that I had been painting up. To give the game some context, I decided that it would form part of the Harad National Guard's attempt to clear Nod forces out of the Gogol Pass, and gain control of the settlements of Dun Masud, and Turab. Success would mean that HNG forces controled an important sector of the Umbar Highway.
Settlements from left to right: Safaq, Dun Masud, and Turab. Dun Masud sits on the edge of the Gogol Pass.

 For rules and statistics, David Makin's conversion of 'Combined Arms' for CD3 Moderns were used. Frank supplied the Noddist forces, while I provided the HNG. This was the most armour heavy moderns game we had played, so it was going to be interesting. The victory condition for both sides was to either drive the other off the board, or failing that - seize and hold Dun Masud. This was not a detailed scenario - rather it was a "we haven't gamed for a while, and using lots of tanks would be cool" type of game.

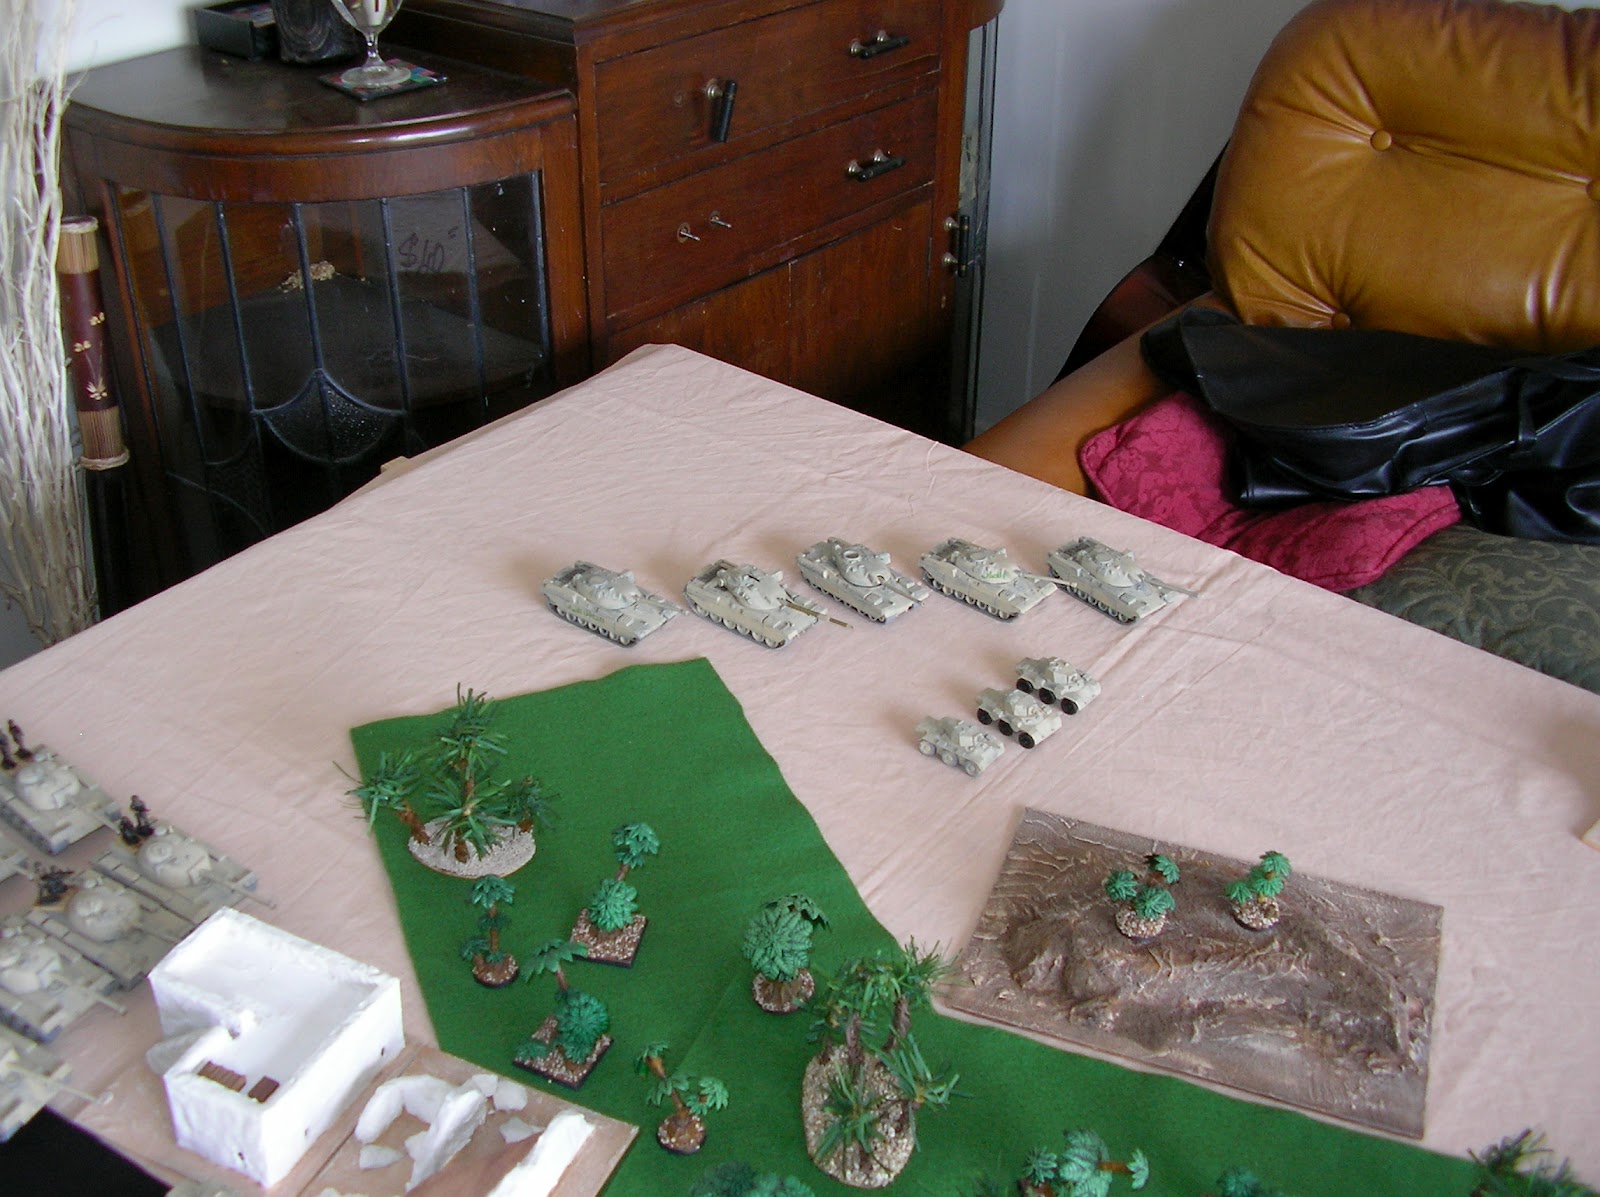
HNG armour at Safaq. M-48s are mainly Airfix, with two Matchbox Battle Kings.
Dun Masud and the Gogol pass.
 Frank also supplied the urban templates, while I proved the palm trees! Terrain was placed in order to give some cover for, and from, the armoured units involved. The majority of these trees are the GW Jungle Trees that came as part of the 40K 3rd edition set. They were cast in a hideous green and a so-so brown, and were disliked by the majority of 40K players I knew at the time. I saw the potential for use as terrain in 20mm, and so acquired as many as I could. When they were later sold separately, I bought some more.

Trees, by Games Workshop.

More Trees, including a trunk shot of my 'Christmas' Palms.

More 'Christmas' Palms. These were made from the branches of an old artificial Christmas tree. Much mess was involved and the project will not be repeated. The green outcuts went everywhere....
Another view of the HNG build up at Safaq.


HNG Chieftains. Models are three HK knock offs, one Battle King, and one Airfix model.
Nod forces (Blue Grey) supported by Khand Separatists (Sand and Tan).
Nod Infantry. Figures are Orion Modern Russian Federals. The light trucks are repainted toy diecasts.

The Noddist Horde. Frank has modeled his Nod forces along the lines of a Soviet Motor Rifle Regiment, as outlined in Combined Arms. Frank can be seen in the background trying to fix his Hind for the game.
More Nod equipment. T-55 with additional spaced armour, ZU 23-2, and a 120mm mortar. 

Nod Motor Rifleman enjoy some prebattle refreshment.
HNG Ambulances wait near Safaq.

HNG headquarters near Safaq.

A HNG Armoured Car Recon Company.
 Blogger is being special with letting me upload pictures, but I have quite a few more of the game yet to post. I took 158 photos, and of that quite a few are actually in focus! Frank's Nod stuff is very pretty and I do have more pictures of his stuff to put up. Thanks again to those who are taking the time to look at this stuff. The big Harad campaign I have posted about earlier is slowly getting to the start point, and will begin after I have produced all the needed paperwork.

Wednesday, 25 January 2012

The Mighty Antar Pt.2

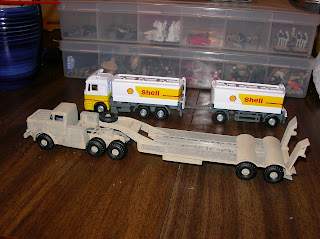
So  I've finally done some more work on the Airfix Antar tank transporter. I have given it the now customary coat of Vallejo Iraqi Sand, and painted the tyres with GW Chaos Black. I still have to do some finishing work on the headlights, put on some unit/tactical markings to improve its table candy value, but it is at a stage where I can put it on the table. I now have to make a support stand of mechanics to assist with vehicle recovery.
The Airfix Antar and a 1/72 Petrol Tanker and Trailer.
A nice view of the Antar's flatbed.
The Antar's cab. Headlights need painting...
Guess which one is the dodgy scratchbuilt replacement.
 The scratchbuilt ramp is functional, but I still need to make it look more like a dodgy field repair. My thinking is that since I can't make it look identical to the original part, I should try and make it a feature of the vehicle that adds character. I guess to put it in WH40K terms, I want it to look more orky...

The second of my Battle King 155mm SPGs has also been given a coating of Iraqi Sand, and had its stowage repainted. I'm still debating how to made the spades for both in an easy, but convincing manner. For the time being I will use them without, but I certainly will revisit putting spades on.
SPG on ramp.
SPG on Flatbed.
Stowage and Cammo netting.
 The cammo netting is mutton cloth that was painted black and dry brushed with various shades of green enamel paints many moons ago. For this repaint I simply dry bushed on various shades of brown acrylic paint.
Another view of the SPG on the Antar.
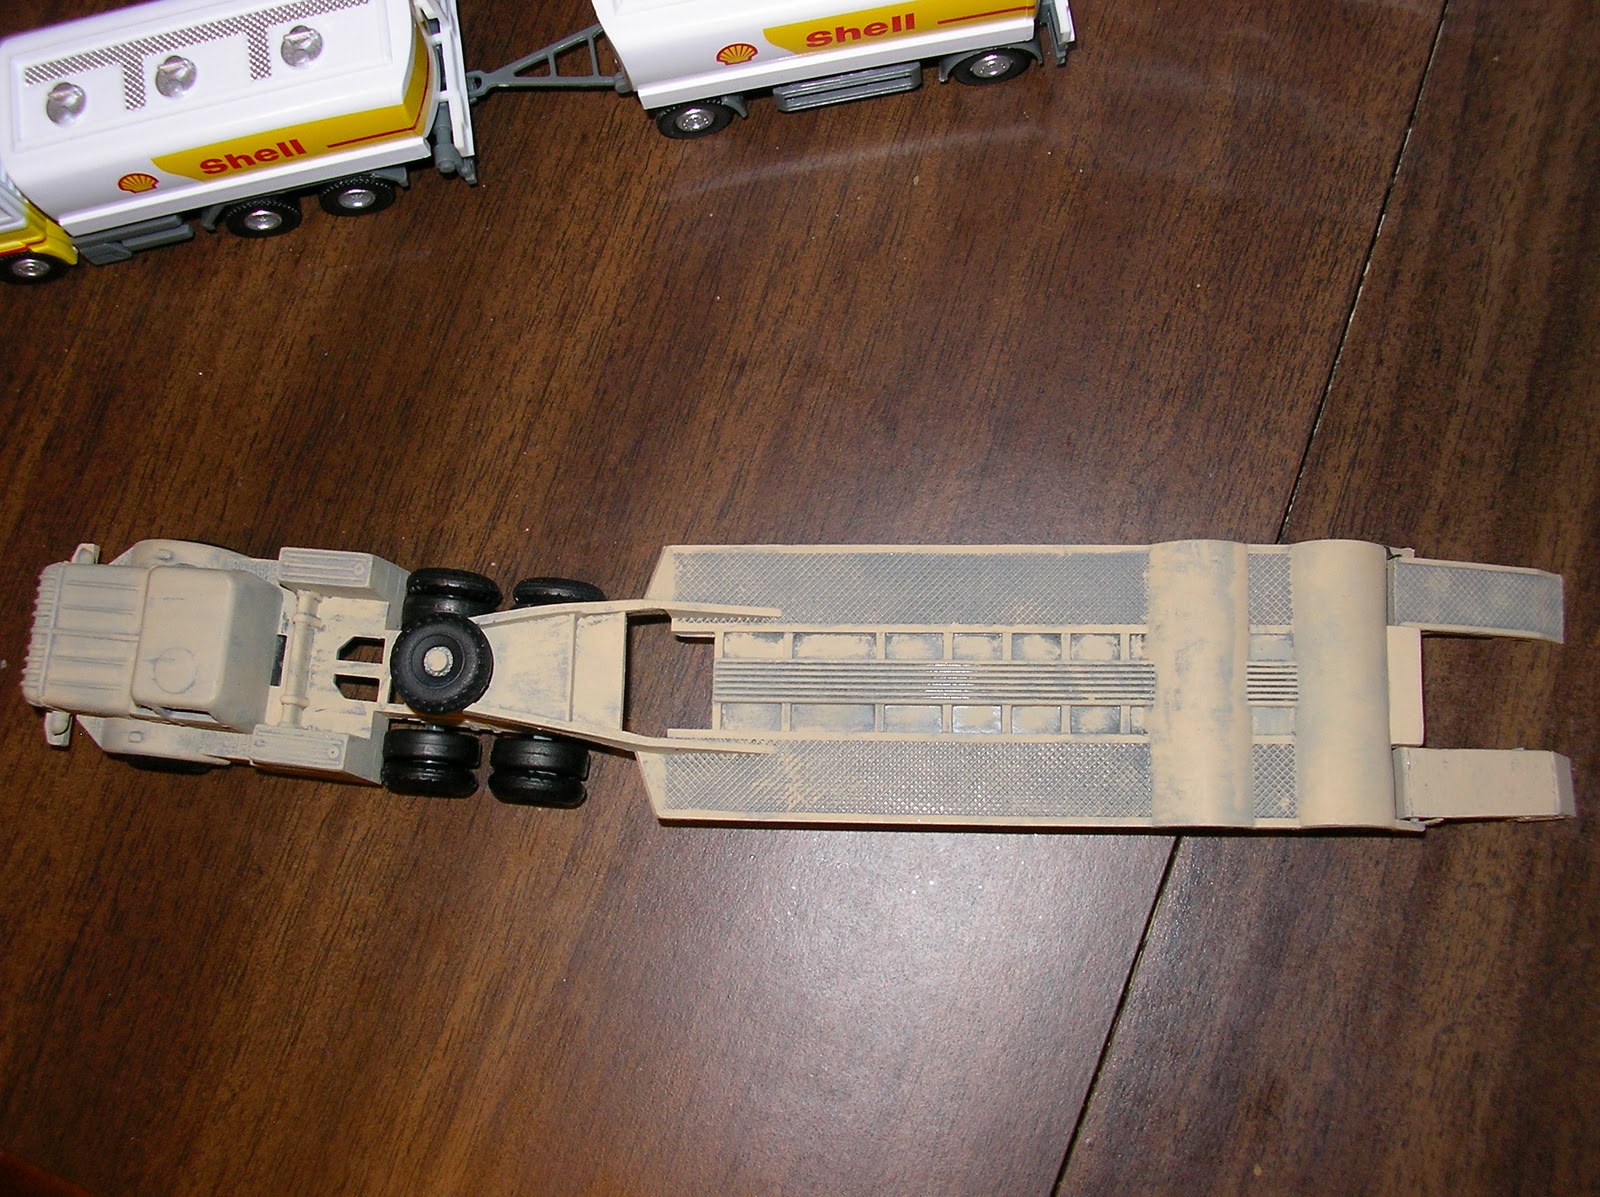
And a view from above.
Antar from above with empty flatbed.
And a closer view of the flatbed.
The view from the ramps.

 Since I have been gathering up lots of armoured units for my Harad game, I have also been trawling through the hoard for fuel tankers. So far I have found a few modern Shell tankers in 1/72 scale which I am debating leaving in their civilian colours and just weathering a little, or giving them a full repaint in Haradi Sand.

Tanker trailer combo. Maker unknown.
The trailer is quite a nice little unit.
Two more tankers in 1/72 scale. Maker unknown. Alas, no trailers..
 Fortunately, I still have plenty of teeth units to paint before I need to start repainted tanker trucks. I also need to make sure that my adaption of the fuel consumption rules from Twilight 2000 are both playable and realistic. After all, surely part of the fun of a campaign is running out of fuel.

Monday, 23 January 2012

Centurions and Pack Howitzers

I have two Airfix Attack Force Centurions that I painted in an experimential generic paint scheme. I painted them both an olive drabish green, and then sponged on some dark yellow, and some red. When I painted these two tanks it was well before I started work on the whole Harad campaign background. I just wanted to have fun painting up a couple of tanks, and see what a particular paint scheme might look like.
Splotchy Centurions.
Another view of the same.
 
 At this stage I am planning to leave them in this paint scheme, as I need to finish the paint jobs on other tanks before I start to repaint vehicles.

 Something that is going to be repainted are these Corgi Junior Field Guns. I picked these up as part of a bulk lot of toy field guns - the rest were Matchbox Field guns - in 2007. Originally the Corgi guns were released as either part of a twin pack, with tow jeep and plastic soldiers, or just as the gun with some crew. More information is available here. The gun itself is quite a nice rendition of the Otto Melara Mod 56, but in a scale larger than 1/76.
Corgi 105mm Pack Howitzers.
 My personal view is that it is close enough to bodge it, as they are a little too big, but hopefully not overwhelmingly so. I am probably going to proceed with painting and basing them up as when I look at various photos it seems that it is the wheels on the Corgi Field Gun that are slightly too large. 
Spilt trails in towing configuration.

TOW stand added for scale.
Of course at the end of the day, the point is to have items on the table that look good, and aren't too obviously wrong.

TOW Stands

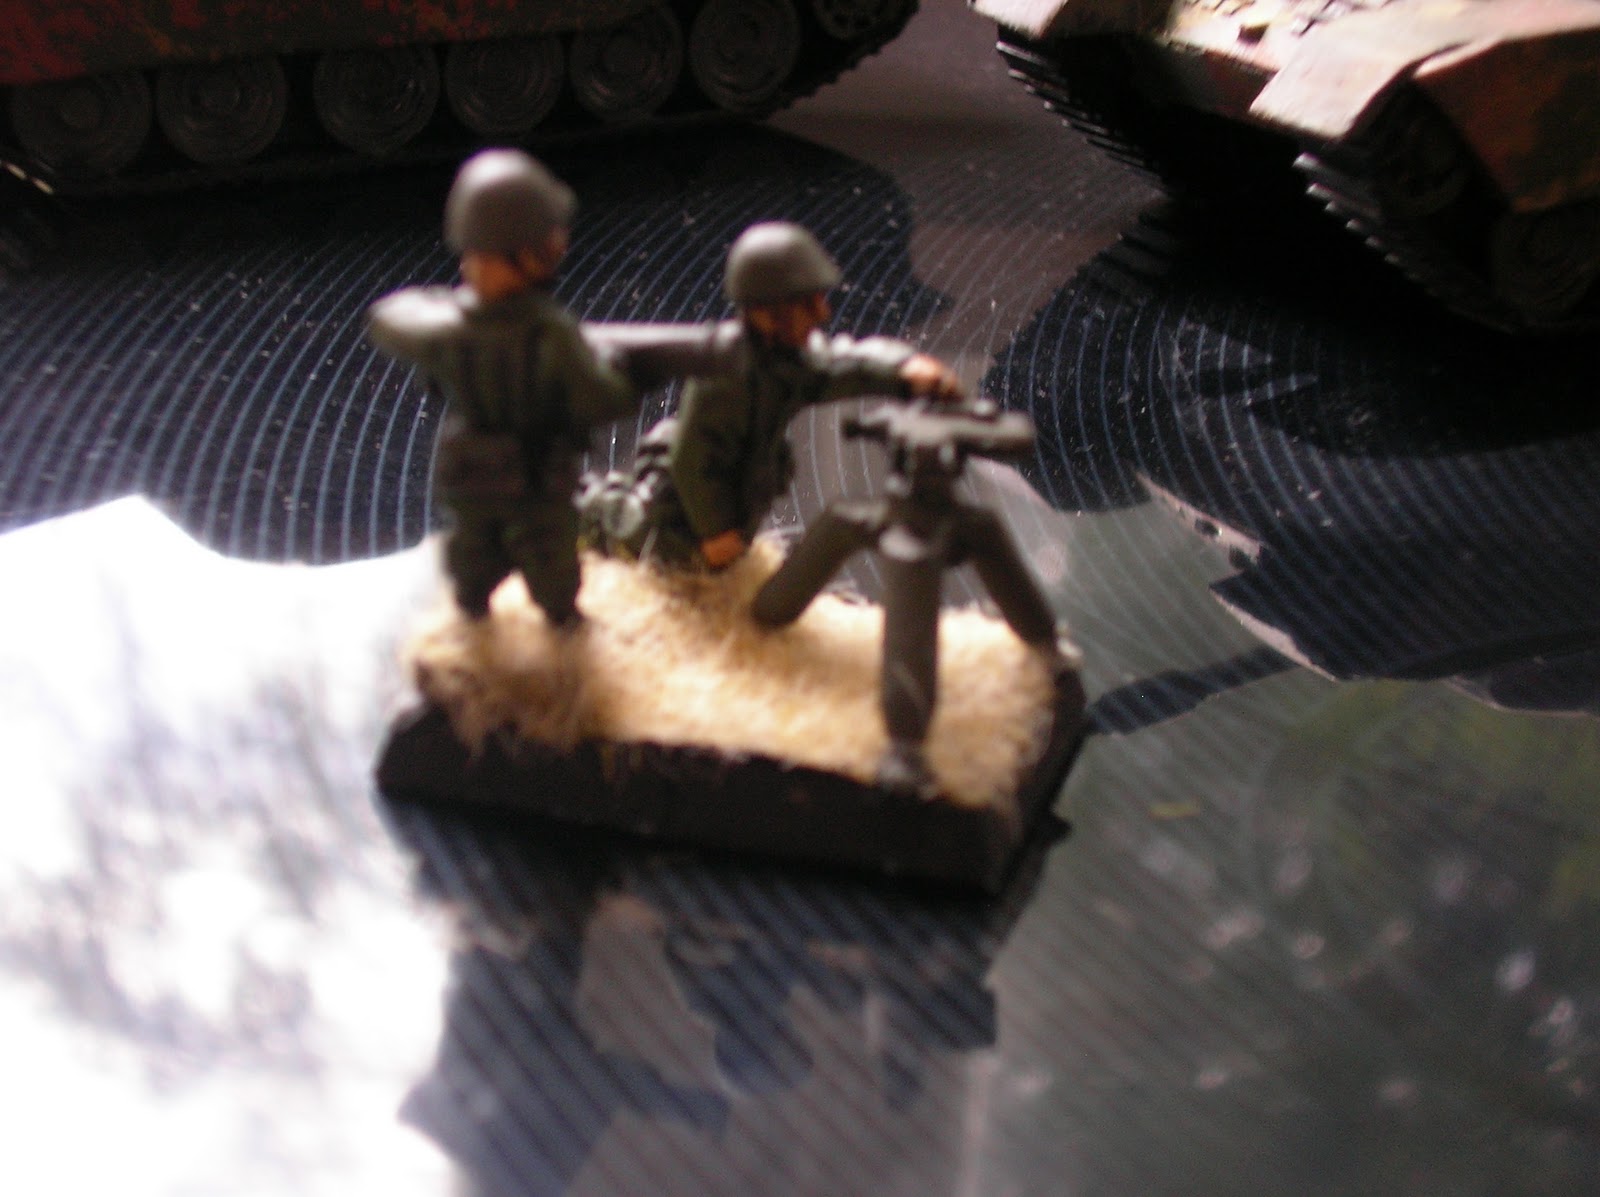
I thought I would quickly post a couple of completed stands, since I have been posting mainly works in progress, and Star Wars stuff recently. A couple of years back I purchased through an internet auction site, a number of metal 20mm moderns figures. Amongst these figures was a TOW section consisting of the launcher and tripod, and three crew. One was kneeling down, while the other two were carrying reloads.
Metal figures, maker unknown, and TOW launcher.
So I made up a TOW stand with two of the figures, and put the spare reloader in the bits box for future use. I used a 20mm x 30mm stand to base them, as I intended to make it possible for it to be a double size stand in CD 3 terms, but also to have enough room to fit the tripod and crew on the base.
Spare gunner and reloader on left. Makers unknown.

 Some time later, I remembered that I had an orphan metal WW2 US gun crew figure in the bits box, so I thought that they could be turned into another TOW stand. All that remained was to construct a tripod out of sprue, and an optics/control unit out of plastic card. So when I was thinking recently about what anti tank weapons were in use in Harad, I thought about making up another TOW stand.

Sprue and plastic card can make all sorts of stuff,
Another view of the original TOW stand, soon to be washed and flocked.
Making the launcher was quite straight forward as it is essentially a squat trip made of sprue legs with some attached pieces of plastic card. Both stands have been painted in the olive drab that I am using as uniform of the pre civil war Haradi military. While in the photo the first TOW crew looks very green, a wash has toned that down somewhat. I am quite looking forward to seeing these stands fielded in a game against some of the armour that I have been painting up.
Haradi TOW stand. Background, Airfix Attack Force Centurion Tanks.
Another view of the washed and flocked stand.
The extra TOW stand is finished.
 Thanks again for taking the time to view my work!

Friday, 20 January 2012

Gamorreans, Rebel Fleet Troopers, and Speeder Bikes

As I am meant to be doing something else, I decided to put up a few more pictures of Micro Machines. First up are Jabba the Hutt's Gamorrean guards. The Micro Machines range only produced two Gamorrean figures that I am aware of, one was produced as part of the mini head range (and is the figure next to the Action Fleet one on the right), and the other was supplied as part of the R2-D2 Jabba's palace playset - as was the Rancor below. (Figure is the Micro Machine with the tan base)
2
L.to R. Clone Wars Risk pieces, Micro Machines Rancor, Action Fleet Gamorrean, 2 Micro Machines Gamorreans, more Risk pieces.
 The Risk pieces I got at the same time I acquired the Risk Clone Troopers. I had never seen the Risk Gamorreans before I obtained them, and had entertained hopes that they would be slightly larger. However, what they lack in terms of quality for my purposes, they have in quantity.
Lots and lots of Pigmen!
 I am tempted to build up a force of Gamorreans, using the Risk figures as, well, grunts, and the other larger figures as command figures. Of course, the bigger the figure, the more senior the rank. I am also tempted to name the commander Boss Hogg.
So the Action Fleet guy becomes the Boss Pig?
Now on to the Rebel Fleet Troopers. These were available as part of the range of figure sets produced by Micro Machines, and came with nine figures. Despite only appearing in the beginning of Star Wars, this small amount of screen time was built upon by various gaming systems, fan produced stuff, etc, until they were viewed as being the main ground forces of the Rebellion.
Rebel Fleet Troopers, with Speeder Bikes in background.
 The Speeder bike is the same as the one used by the Imperial Scout Troopers, and the Rebel rider is wearing the same uniform as the rest of the Rebel force that landed on a certain forest moon. Micro Machines did release a figure set of Endor Commandos, but these are starting to get quite scare and expensive on internet auction sites. Much like the Rebel Fleet Troopers, these were not released in NZ. Fortunately, all of the vehicle sets were, so I was able  to get the Rebel Speeder Bike.
These were released as part of Micro Machines vehicle sets.
A blurry picture showing all four poses.
 Right, off to do work, and paint tanks...
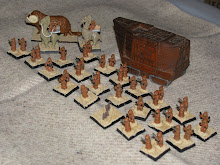
Yet more Haradi WIP - The M-48s get sprayed.

Today I experimented with using the camera on my phone to take pictures. Normally I use my camera, and then take the SD chip out, slap it in the computer and upload the pictures from there. Once I had a USB cable for connecting the camera to the computer but I lost it...
Resprayed Tanks from previous post.

The first of the Airfix Attack Force M-48s to be undercoated.

And some more M-48s. The Council recycling bin is a great spray stand.

Plastic card plating to add depth to the hull.

Another shot of the same.
The effort of plugging the USB cable in and copying the files across to the computer is about equal to the way I am currently getting images off my camera. However, since I tend to take my phone more places, I am now able to take more pictures for the blog. Excellent...