Followers

About Me

My photo
I wargame in 20mm, primarily using Command Decision 3, but have been tempted into other systems. I have a tendency to adapt CD to suit other periods with varied results! I take awful pictures and am at best an average modeller and painter, but hopefully quantity will have a quality all of its own.

Tuesday, 10 April 2012

Japanese Mules -a work in progess.

An indoor shot taken with poor light and no flash.
 Having acquired a number of Airfix Supply Mules from Glenn, I am making up a couple for use with my Japanese forces.  One of them was missing its load, so I decided to give it a new load of barrels from the bits box, and construct a carrying frame out of matchsticks. Because the barrels stick out from the body of the mule, I decided to base it on a larger base, rather than the normal 20mm x 30mm piece of MDF.
Outdoors with natural lighting - a much better photo.
The carrying frame is made from Beehive Matches - only the best for my mules!
The poor mule looks quite overloaded!


The resulting conversion is very simple, and in is something quite different from the normal supply elements on the table. Two different types of barrel were used to add to the mismashed look of the element.  A rough calculation of the barrels containing around 158ltrs each, and having the weigh of the liquid at around 160kg (320 for both) and then adding in the weigh of the empty barrels, plus the weight of the carrying frame, puts the load in excess of the upper end of what a mule can carry - meaning that carrying this load long distances is going to be very bad for the health of the mule - if indeed the poor bugger can even move with the load! A more normal weight for a cargo load would be around 70kg. (according to the good folk at GDW, who give that figure in  Twilight 2000  Version 2.2  p.88, and other less game related sources on the internet.) The maximum load for a pack mule in the US Army during the Plains Wars was 275 pounds or 125kg. Odds are then, that the barrels are only around a quarter to a third full each, putting the load at a more practical level.

The other two mules are built straight out of the box.
All three stands await an undercoat of black spray paint.
 The Airfix Jungle Command Post set has always been a favourite of mine, as it is an excellent source of bicycles, boxes, another other fine items - as well as having a very nice native building.

Undercoated and overloaded.
A distance shot.
And the close up.
 So all that is left to do is to paint them up, flock the bases, and then get them on the table. Easy - unless I get sidetracked into another project.

EDIT: Drum volume changed from 200 liters to 158 liters, as I was using figures for the US 42 Gallon Drum. This makes the weight figures given make sense....

Monday, 9 April 2012

One of these Mules is not like the others.

A trio of Mule stands.

A while back I started making some pack mules for use in Harad. At around the same time I rediscovered what appeared to be a Roco model of a Mechanical Mule, or at least a similar type conveyance. Naturally I decided to add it to the build list - especially since it was mounting a TOW. I also acquired from Glenn a number of the hard plastic supply mules from the Airfix Jungle Command Post set that I felt would be useful logistics elements for various forces operating  in Harad.

Rocco Mule and Hong Kong Green Army Man Radio Operator. He was purchased in Invercargill during the the late 1970s in a packet of mainly Series 2 Airfix US Marines knock offs.

The view from the rear.
The facial detail on the Green Army Man is better than I thought it should be.
The Mule driver is mostly the driver from the Airfix Matador and 5.5 inch gun kit, with a few bits added to him.
Ready for undercoating.
View from above. The steering wheel came from the bits box.
Undercoated in GW Chaos Black. At the rear is a Supply Mule that i am starting to work on for my Japanese.
The figures on the two supply Mule stands are respectively an unconverted Airfix/Hat Arab, and on the second stand an Esci Modern Russian Paratrooper who had earlier donated his weapon, and now received a head transplant from another Airfix/Hat Arab.

A Mule train with added punch.
A view from the side.
 I have on the workbench at the moment a number of mounted stands that I am slowly painting up for use in Harad. I will try and take at least some work in progress photos of them. As for the Roco Mule, I haven't seen any pictures of the various marks and models of the US Mechanical Mule that is an exact match for the Roco beast I have used here. My suspicion is that it is actually a NATO vehicle that is similar in concept, rather than being the US one. Still, it allows me to have another TOW on the table, which is a good thing. The driver does look a little awkward when viewed from some angles, but when using the three foot rule he looks quite good. Not bad given that the vehicle is meant to be 1/87 scale. the odd thing about the seating arrangement is that the model has the driver sitting down with his legs in a box, similar to the arrangement on a Kettenkrad, whereas normally on the Mechanic Mule the legs are either on the deck, or extended over the front. It is this seating arrangement that makes me think that it not an actual Mule, but something quite similar instead.

Airfix Sherman Crab.

I have finished the Sherman Crab, and had a great deal of fun doing so. Unfortunately, I didn't take any WIP progress shots as I was so keen to finish the kit. The kit consists of the classic old Airfix Sherman, but with new rubber tracks, and a new casting of the flail gear. Unfortunately, the chains are cast in action mode , so I decided to go for a chains down model. to do so, I used a combination of old jewelery chain from the local charity barn, and plastic flails from the kit. I had also seen a number of flails down modifications of this kit elsewhere on the net, so I decided to give it a crack.
Left over jewelery chain and plastic flails.
Assembly of the Sherman was great fun, but I found putting the flail mechanism together to be somewhat challenging. I also decided to add a .50 cal to the tank. I have seen numerous debates about this online in various forums  - essentially saying that it's a big no-no, but like many things, it did happen sometimes,  and as time goes on, more research show up quite interesting things. Besides, I like .50 cals. That being said, the 'Tombstone' ammo can is very much a stretch and probably quite wrong - but to me it looks great!
The Crabman cometh...

 I don't normally mount tanks on bases, but I felt the fiddly nature of the flails  needed some protection. I made the base at work, from some scrap MDF. Painting the tank was interesting, as I wasn't quite sure what colour to paint it, as while it was British, it was a lend-lease vehicle, so should it be Olive Drab, or a Dark Green, or something different again? I did some research and blended a very nice colour, which then looked like Olive Drab after I applied the wash....so Olive Drab it is! Clearly, that's how all the Crabs supplied with the .50 cal./tombstone ammo can combination were painted...
.50 cal. HMG with 'Tombstone' ammo can. So wrong that's it's right!
A side view of the beast.
Flails on view.
Look, I actually put transfers on and wasn't slack...
View from above. I am tempted to put down some nice golden sand to finish the base up.
 So that's another of the Christmas stash sorted. Time to do some more model building, some painting, and some gaming too. Then I can do some more blogging - or post the backlog of pictures I have taken recently.
Sunday, 8 April 2012

BritishTank Refurbishment. Pt. 1

A motley collection of British Armour.
 Recently I acquired (and in few cases reacquired) a number of 1/72 and 1/76 scale British tanks. Since I was also in the process of making up the Airfix Sherman Crab Tank, I decided that I would spray them, take some pictures and put them up on the blog.
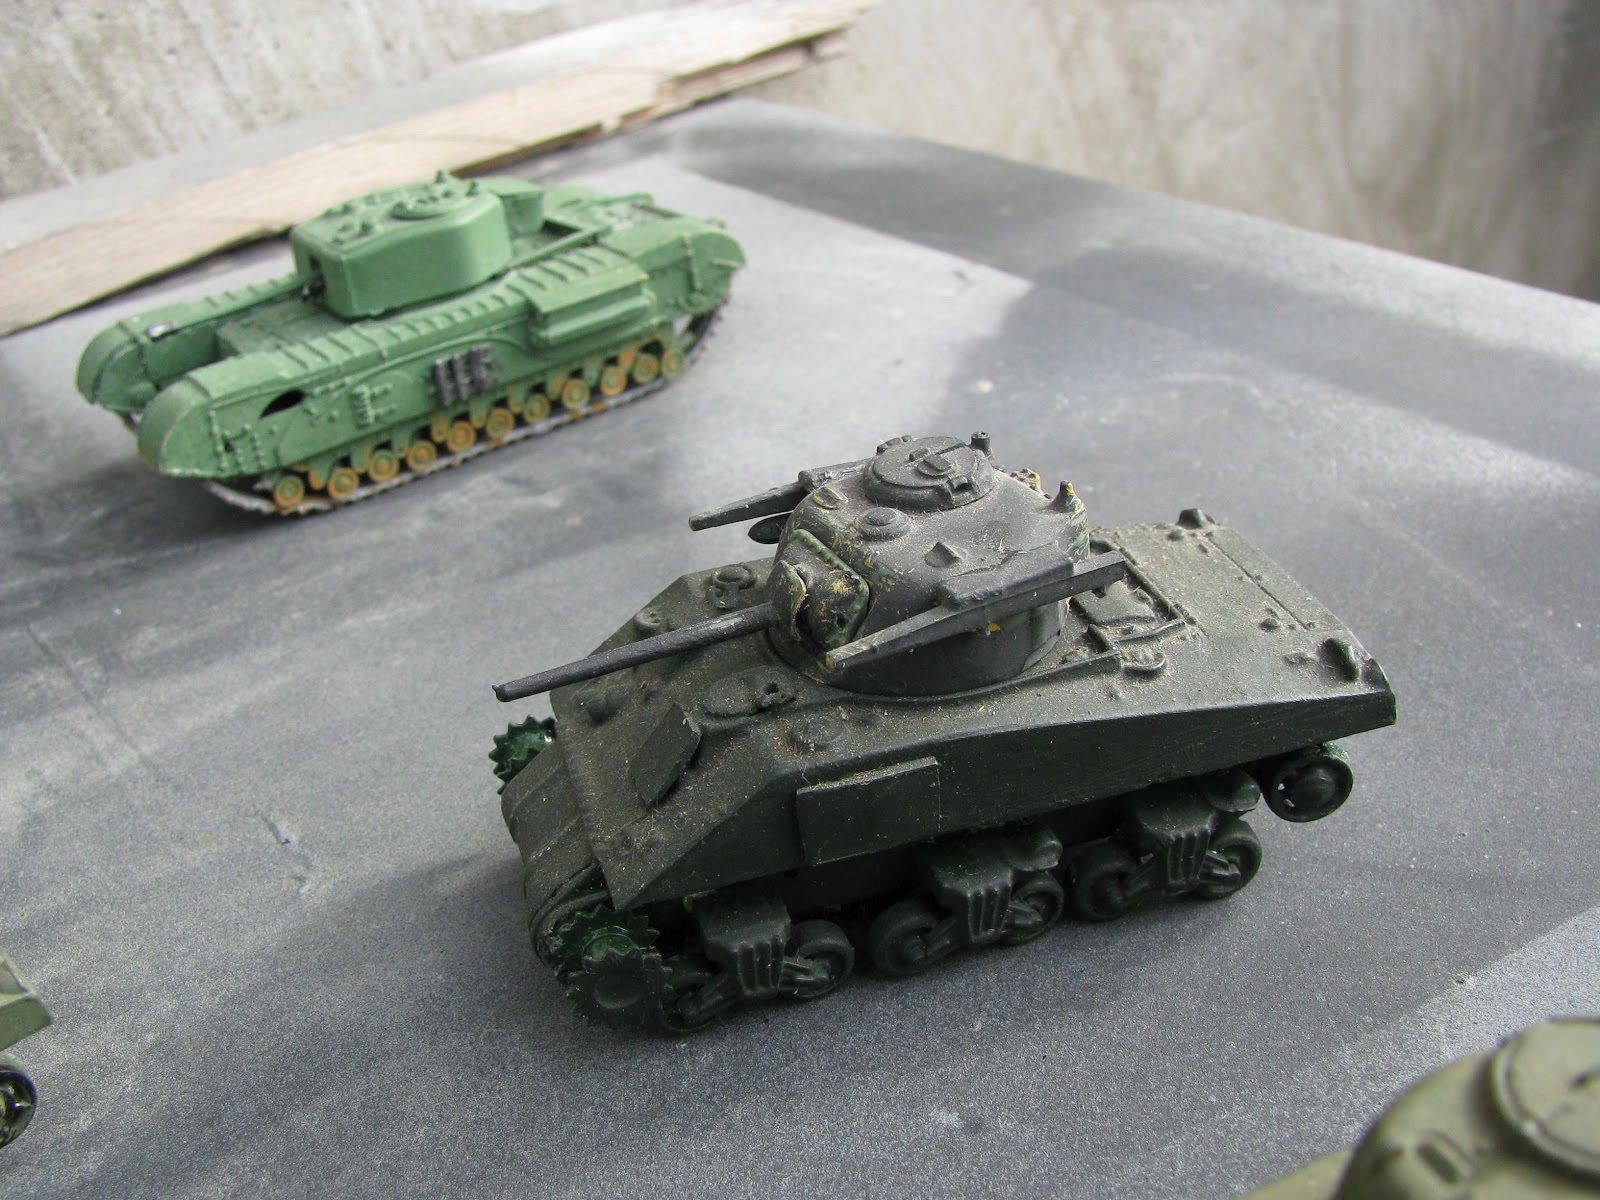
Airfix Churchill in background. Foreground is an Airfix Sherman that has been modified to represent a Sherman Tulip of the Coldstream Guards during the Rhine crossings of 1945.

Another view of the same tanks. The Sherman tracks will be replaced by strips of plastic binding, if the spares box can't yield spare tracks.

Background: Matchbox Fireflies, Midground: Airfix Shermans, Foreground: Matchbox Comet.
Once these tanks were spread out, the spraying could begin!
Now all 13 tanks are in a nice uniform primer grey!

Centre: The Airfix Sherman Crab. Notice that all the fails have been removed.
The Airfix Sherman crab comes with the fails cast in a 'spinning' action pose. This is not the look I want for my vehicle as I like the idea of having the chains hanging down and have seen nice versions of this in the past, and at least one modification of the Airfix kit to achieve the same result.

Mobelwagen.

Taking a brief break from painting up stuff for Harad, I thought I would quickly finish off a kit that I had acquired assembled, but unpainted. The kit is an old Eidai Mobelwagen that is missing part of the gun, but I figured that i could quickly paint it up to match the rest of my late war German forces.
Spray painted white, and then roughly block painted the base colour.

Another view, this time giving a closer view of the 37mm gun.
Normally, I spray vehicles a base coat of black or primer grey. Since this one was sprayed white, I would guess that it has been sitting around awaiting painting for at least ten years. Sadly, this doesn't present a record for deferred projects - not even close...

Once the base coat of Vallejo German Camouflage Orange Ochre was tidied up, I then painted the tracks, edges of road wheels, etc black. I use the Ochre instead of a more correct shade of Dunkel Gelb, for two main reasons - I think it looks nice, and secondly, it's what I have used throughout my German repainting process. For those interested in correct paint colours - have a look at the research presented here, as it seems the issue isn't as cut and dried as some would have it.

Is this your Dunkelbraun and Olivegrau? - Yep, sure is - because I like it!
Some carefully torn pieces of special painting sponge.
 In a similar light I use two Humbrol colours used by my friend Andy on his Germans, because they look ok. I use pieces of sponge ripped from packing foam to sponge it on, as I like the effect, and it saves me from having to clean a brush afterwards.
The rear exhausty/mufler thing was replaced from another Eidai kit in the bits box.

The brass shell casings are the result of GW Shining Gold having a wash of Devlan Mud overtop. I like the effect and will probably use it for the helmets of my Republican Romans.

It still needs a crew, but that can wait for now - and for when I repair the missing bits on the gun.

Close up view of the 37mm gun.

Side view with flaps up!

Rear quarter front view.
Mobelwagens were made out of damaged Panzer IVs that were then rebuilt into Flak vehicles. With that in mind I am planning on turning this damaged Eidai tank  into a useful vehicle.
This had been converted into a sub optimal version of a Brummbar, using cardboard and think coats of paint.

I purchased it at a bring and buy with the idea of either rebuilding it, or using it for parts. It was the source of the Muffler thingy on the Mobelwagen.
All in all, I had fun finishing painting the Mobelwagen, and look forward to gaming with it soon.

Friday, 30 March 2012

New Additions to Harad - 155mm SPGs.

As part of my latest purchase from Glenn, I acquired some more Airfix Attack Force ready made vehicles. I increased the tank holdings by one M-48, and by one Centurion. The M-48 will join its brethern in the standard Haradi paint scheme, but I might paint up the Centurion in the other paint scheme of base green, with sponged on redbrown, and mud brown. I still haven't decided, as I am not that impressed with my alternate paint scheme.
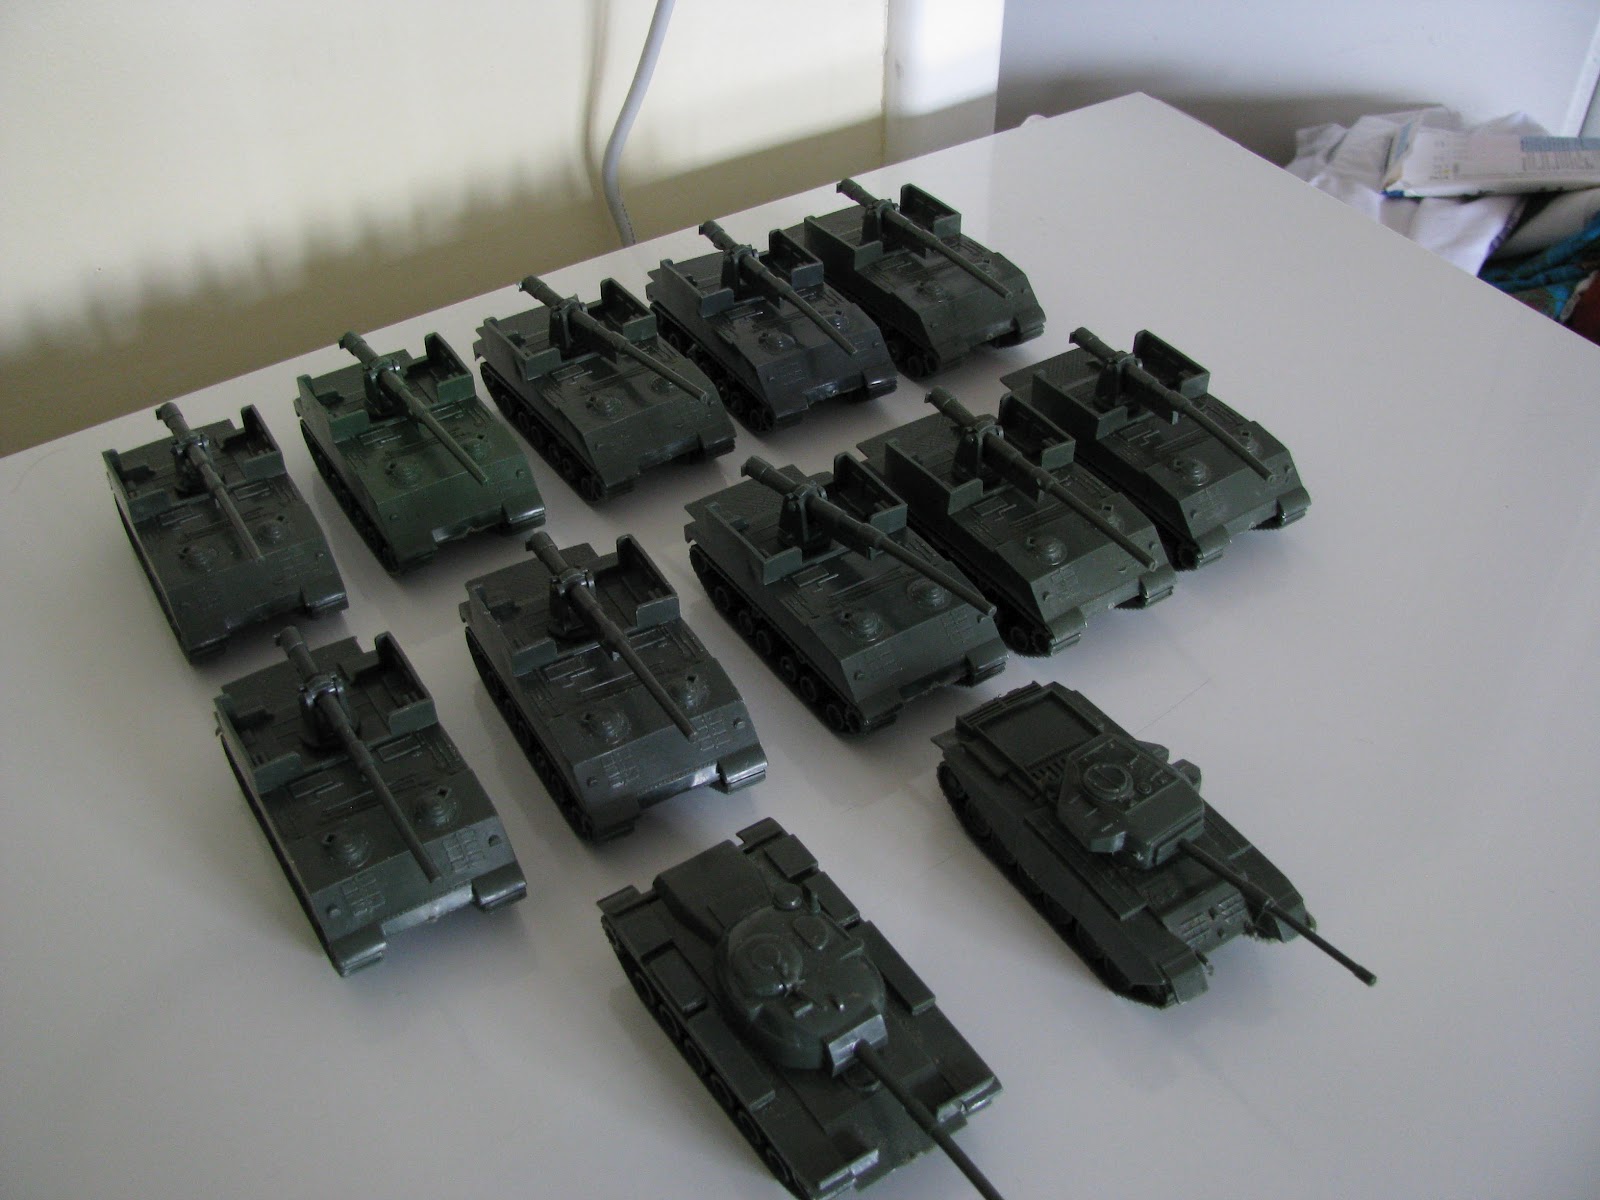
The recent purchase includes a few 155SPGs.

Airfix M-48 shown with  1/72 Italeri US Vietnam War Infantryman,

Ah, the Centurion!  Frank's Noddist Horde has yet to face these in battle!

Airfix Attack Force 155m SPG. This one was acquired with a name inscribed. I may make that a feature of the finished vehicle.
The Attack Force SPGs seem to be very basic models of the late WW2 US M-40 155mm SPG. The major flaws are of course no spades, and the gun is a little on the small side. That being said, they are perfect for my purposes.
Quantity has a quality all of its own.

My plan is to convert a number into munitions carriers, and crew transports, for the F3 155mm SPGs, that I have already painted. This will be achieved by removing the gun and giving the vehicle a canvas top. I am planning on replacing the armament on a few more, and have already started experimenting.
The brown gun is from an artillery piece found in a packet of 54mm toy soldiers.

And the view from the rear.
While still looking quite basic, the new gun is somewhat more solid in appearance and to my mind somewhat more pleasing to the eye. Other suggestions I have been given include converting the vehicles into ambulances, command centers, troop transporters, and recovery vehicles. These vehicles present quite a nice opportunity foer making a number of basic conversions.